Hello there,
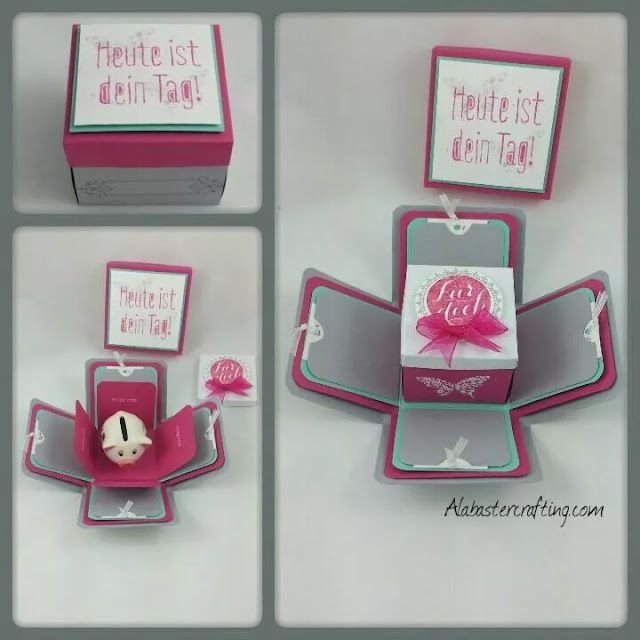
a couple of days ago I wanted to surprise a colleague from me with a little Thank you gift. I quickly decided to give her Ferrero kisses and made a box for her. Remembering a workshop I had done with
Nicole a couple of months ago I wondered if I could turn a slider card into a slider box. After a lot of try and error I managed the box you can see on the right. After posting the picture to
Pootles crafting forum I was asked for a tutorial.
Soooo, here goes my first crafting tutorial:

I started with the box that I wanted to hold eight ferrero kisses and came up with a crumb cake cardstock measuring 14 cm x 18 cm which I scored it with my paper trimmer at 2 cm and 4 cm from all sides,
removed three pieces of the edges,

turned it around and added sticky strip and started folding the box.
I removed the sticky strip cover from the first of the sides that had the adjoining corners

and folded it over.

Followed by the exact same steps at the opposite side.
Next I removed the first sticky strip cover from one of the sides, tugged in the corners and started building the box.

I removed the sticky strip cover from the corners and folded the upper side in much like the longer sides before.
After repeating the last steps at the other side my box actually started looking like a box.

I punched a small hole in the middle of one of the short sides and tugged a ribbon band through to make it easier to open the box later.

Next I made the hidden message. I cut a crumb cake card stock by 9 cm x 6 cm and a whisper white card stock by 8,5 cm x 5,5 cm. Stamped the whisper white card stock with my message and mounted them together. (Here I used, the stamp sets "Lovely as a Tree", "Banner Blast" and "Perfekte Pärchen"

Next I cut a crumb cake cardstock 10 cm x 5,8 cm and with the help of the banner punch made a little pathway for the slider. I cut a cellophane bag into a stripe and glued it together with a sticky strip again.

I moved the part where I glued the stripe together to the left and glued a sticky strip over it again, removed the cover and aligned the the box on top of it.

I turned it around and added sticky strip at the very right end of the slider part aswell as on the cellophane stripe where the end of the hidden message would be and placed the hidden message face down on it.
I then cut a piece of crumb cake cardstock 18,7 cm x 10,5 cm, scored it at 2,1 cm, 8,3 cm, 10,4 cm and 16,6 cm and put sticky strip on the last small bit.
I then removed the the cover from the small sticky strips at the slider under the box and placed it on the lower bigger part.
As the box will be rather heavy once it is filled I wanted to secure the slider at the other aswell. I cut small peaces (2 cm x 0,5 cm) and glued them one the slider as in the picture, removed the remaining covers and built the box together. I took extra care to not fit it to tight so that the box and card had room to move.
And the slider box was ready.
Lastly I cut a whisper white cardstock at 10 cm x 5,6 and decorated it. I used the leave from the "Lovely as a tree" set again and the one of the stamps of "Million & One" set and mounted on top.
And finally I was done.
I immediately did another one for a friend who is my partner in crime when it comes to crafting. I used her favourite colour indigo island and the sets "Kreative Elemente" and "You're Lovely"

And finally a matching card to go with my box.
Please let me know your feedback to my first tutorial. ;-)
With love
Anja